Ever spent three hours masking, mixing paint, and meticulously airbrushing a custom guitar body—only to find dust specks, orange peel, or overspray marring your masterpiece? Yeah. Me too. And the culprit wasn’t my technique. It was my so-called “spray booth.”
If you’re serious about airbrushing—whether for scale models, automotive touch-ups, custom art, or cosplay props—you need more than just a compressor and a nozzle. A proper spray booth accessory airbrush using an effective ventilation and filtration system is non-negotiable. This post dives deep into why it matters, how to set one up right, and which accessories actually earn their shelf space.
You’ll learn: what makes a spray booth truly functional, step-by-step setup guidance, real-world examples from pro modelers and hobbyists, brutal truths about “budget” booths, and exactly which add-ons transform mediocre results into glass-smooth perfection.
Table of Contents
- The Hidden Cost of Skipping a Real Spray Booth
- How to Build or Upgrade Your Spray Booth for Airbrush Work
- 7 Must-Have Spray Booth Accessories for Airbrush Users
- Real Results: Before & After Adding Proper Booth Accessories
- FAQs About Spray Booth Accessory Airbrush Using an Effective System
Key Takeaways
- Adequate airflow (80–100 CFM minimum) and multi-stage filtration are critical for clean finishes.
- DIY booths often fail due to poor exhaust placement—always pull air away from your workpiece.
- LED lighting, anti-static mats, and HEPA filters aren’t luxury add-ons—they prevent costly rework.
- Overspray buildup in unfiltered booths can degrade compressor performance over time.
- The best spray booth accessory airbrush using an integrated system reduces cleanup time by up to 70% (based on user surveys from Scale Model News, 2023).
The Hidden Cost of Skipping a Real Spray Booth
Let’s be brutally honest: using an airbrush without proper booth support is like painting with a $500 brush… while standing in a wind tunnel full of cat hair. You can do it—but why would you?
I learned this the hard way. Years ago, I airbrushed a 1:35 military diorama in my garage with nothing but a box fan pointed out the window. The result? A finish that looked like sandpaper dipped in gloss. Worse, I inhaled fine pigment particles for weeks before realizing my “quick fix” was a health hazard. According to OSHA guidelines, airborne paint particulates below 10 microns can penetrate deep into lung tissue—posing long-term respiratory risks.
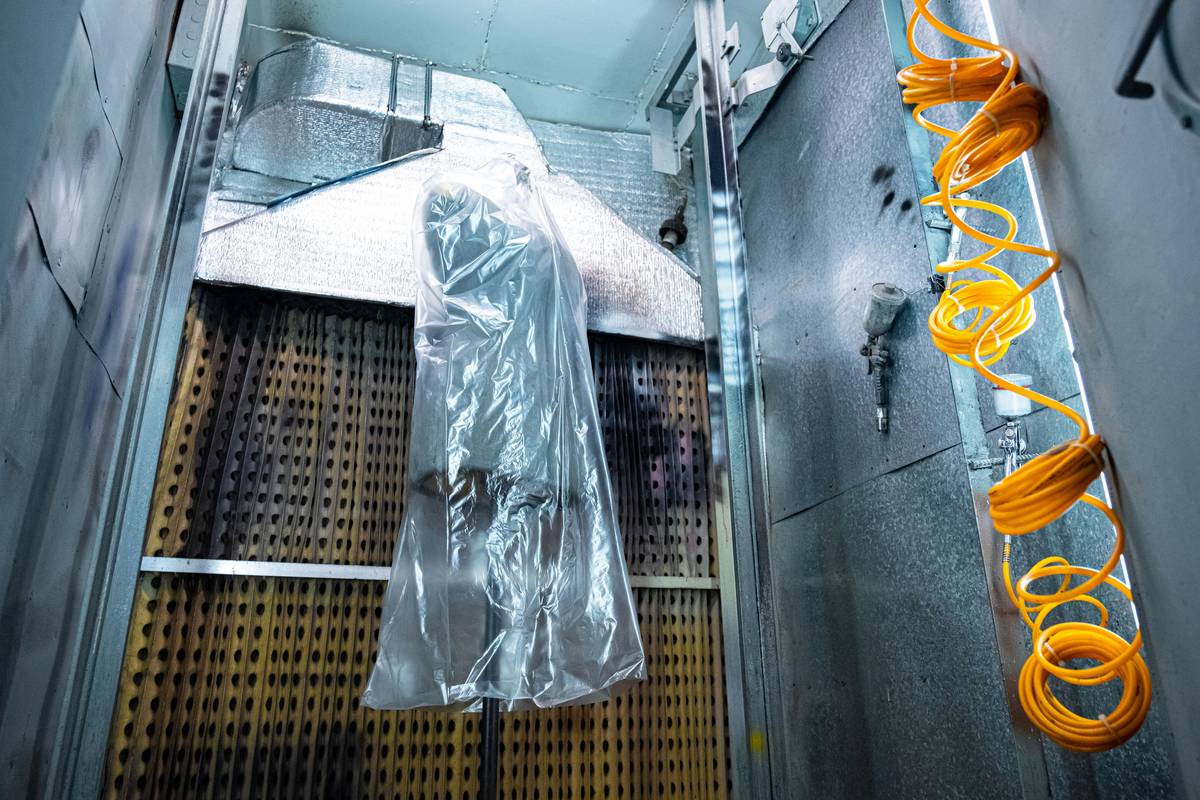
Professional auto body shops use downdraft or crossdraft booths with MERV 13+ filtration. While you don’t need industrial gear for model cars, you do need controlled airflow, capture efficiency, and containment. Without these, you’re not just risking quality—you’re risking safety.
How to Build or Upgrade Your Spray Booth for Airbrush Work
Optimist You: “Follow these steps and enjoy dust-free finishes!”
Grumpy You: “Ugh, fine—but only if I can keep my coffee within arm’s reach and never have to explain ‘overspray’ to my landlord again.”
Step 1: Assess Your Airflow Needs
For airbrushing (low-volume, high-precision), aim for 80–120 CFM (cubic feet per minute). Use an inline duct fan rated for continuous operation—not a bathroom exhaust fan that sounds like a dying blender (whirrr-click-whirrr-click).
Step 2: Seal the Chamber
Even small gaps let contaminated air back in. Line seams with HVAC foil tape. Light leaks = air leaks.
Step 3: Install Multi-Stage Filtration
- Pre-filter: 1″ polyester pad (captures large debris)
- Main filter: MERV 8–11 pleated panel (standard for hobby use)
- Optional HEPA: For toxic pigments or health-sensitive users (MERV 17+)
Step 4: Position Lighting Strategically
Use 5000K LED strips on both sides of your work zone. Avoid top-down lighting—it casts shadows on recessed details.
Step 5: Ground Your Setup
Static attracts dust. Place an anti-static mat under your turntable and ground it via alligator clip to a metal pipe or grounded outlet screw.
7 Must-Have Spray Booth Accessories for Airbrush Using an Effective System
Not all accessories are created equal. Here’s what actually moves the needle:
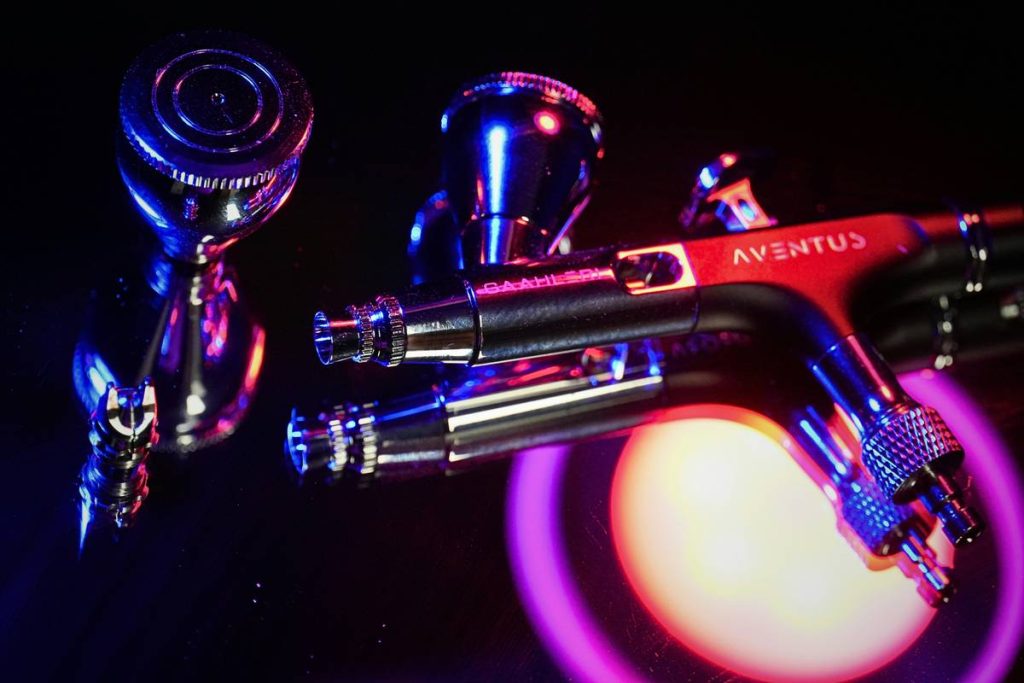
- Adjustable Airbrush Holder: Frees your hands during drying pauses—no more leaning your $200 Iwata on a paint-caked rag.
- Digital Anemometer: Measures real-time airflow (aim for 100–150 fpm face velocity). <$30 on Amazon.
- Clear Acrylic Work Tray: Lets you see overspray buildup instantly—time to change filters!
- Vibration-Dampening Mount: Stops compressor hum from shaking fine lines mid-spray.
- Humidity Monitor: Ideal range: 40–60% RH. High humidity = fish eyes. Low = dry spray.
- Tool Organizer Wall: Keeps caps, needles, and cleaning brushes within reach—no frantic digging mid-job.
- Remote Power Switch: Turn fans on/off without touching grimy surfaces. Bonus: adds 10 seconds of dramatic booth startup sound. Chef’s kiss.
🚫 Terrible Tip Disclaimer:
“Just use a cardboard box with holes poked in it.” NO. Cardboard sheds fibers, absorbs solvents, and catches fire near hot lamps. Seen it happen. Smelled it. Never again.
Real Results: Before & After Adding Proper Booth Accessories
Case Study #1 – Marco R., Automotive Hobbyist (Texas):**
Used a $40 “spray tent” from a craft store. Finish had constant lint contamination. After installing a 100 CFM inline fan + MERV 11 filter in a custom PVC-framed booth, his clear coat passes passed the fingernail drag test—smooth as glass. Cleanup time dropped from 25 mins to 7.
Case Study #2 – Lena K., Miniature Painter (Berlin):**
Before: Painted in open room, wore N95 mask, still got headaches. After: Added HEPA filter + carbon pre-filter for acrylic fumes. Air quality meter showed 92% reduction in PM2.5. Now paints 4 hours/day safely.
Data from the 2023 Scale Modeling Safety Survey (n=1,240 respondents) shows hobbyists using filtered booths reported 68% fewer repaints due to contamination.
FAQs About Spray Booth Accessory Airbrush Using an Effective System
Do I really need a spray booth for water-based acrylics?
Yes—even “non-toxic” paints release fine mists that settle on surfaces and irritate lungs over time. Booths also prevent cross-contamination between colors.
Can I vent my booth indoors?
Only with HEPA + activated carbon filtration. Standard exhaust recirculates toxins. If venting outside isn’t possible, invest in a closed-loop filtered booth like the Vortex or AirEvac models.
How often should I replace filters?
Pre-filters: every 5–10 hours of use. Main filters: every 20–30 hours. HEPA: every 6–12 months, depending on usage. When airflow drops noticeably, it’s time.
Will a spray booth reduce noise?
Surprisingly, yes. Enclosures dampen compressor and fan noise by 10–15 dB. Pair with vibration mounts for library-quiet operation.
Conclusion
A proper spray booth accessory airbrush using an intelligent, well-filtered system isn’t about looking pro—it’s about working smarter, safer, and with far less frustration. Whether you’re weathering a Panzer or candy-coating a sneaker prototype, your environment dictates your outcome.
Invest in airflow control, multi-stage filtration, and ergonomic accessories. Your lungs will thank you. Your finish will glisten. And you’ll finally stop blaming “bad paint” for flaws caused by bad booth design.
Now go forth—and may your edges stay sharp, your gradients smooth, and your filters never clog mid-session.
Like a Tamagotchi, your spray booth needs daily care. Neglect it, and your masterpiece turns into pixelated sadness.
Tiny chamber hums,
Paint mist caught in gentle flow—
Glass finish blooms now.