Ever spent 20 minutes troubleshooting sputtering paint, only to discover a dried speck of acrylic clogging your airbrush needle? Yeah—we’ve been there. That tiny obstruction can turn your smooth gradients into Jackson Pollock disasters. The good news? A proper airbrush cleaning tool isn’t just helpful—it’s non-negotiable for anyone serious about precision spraying.
In this guide, you’ll learn how to use an airbrush cleaning tool like a seasoned pro: from disassembly and deep-cleaning techniques to avoiding rookie mistakes that wreck expensive nozzles. Whether you’re a hobbyist restoring vintage model trains or a makeup artist prepping for bridal work, clean equipment = consistent results. We’ll cover:
- Why regular cleaning prevents costly damage
- Step-by-step instructions using industry-standard tools
- Real-world examples (including one near-fatal error I made with lacquer thinner)
- Frequently asked questions from fellow sprayers
Table of Contents
- Why Bother? The Hidden Cost of Skipping Airbrush Maintenance
- How to Use an Airbrush Cleaning Tool: Step-by-Step
- 5 Best Practices That Keep Your Airbrush Running Like New
- Case Study: How Deep Cleaning Saved My $300 Airbrush (and My Deadline)
- FAQs About Airbrush Cleaning Tools
Key Takeaways
- Dried paint in the nozzle or needle cap is the #1 cause of inconsistent spray patterns—clean after every session.
- Never use metal picks on stainless steel nozzles; they scratch and permanently alter fluid flow.
- A dedicated airbrush cleaning tool kit (brushes, bottle, ultrasonic cleaner) pays for itself in avoided repairs.
- Always flush with appropriate solvent before water-based cleaners to prevent coagulation.
- Ultrasonic cleaners are game-changers but require correct frequency settings for delicate parts.
Why Bother? The Hidden Cost of Skipping Airbrush Maintenance
If you treat your airbrush like a “rinse-and-go” tool, you’re flirting with disaster. Paint residue—even water-based acrylics—dries fast inside microscopic channels. According to Iwata Corporation’s service data, over 68% of customer-reported malfunctions stem from improper cleaning, not mechanical failure. And replacing a needle or nozzle assembly? That’s $40–$120 down the drain… plus shipping and downtime.
I learned this the hard way during a custom motorcycle helmet commission. Rushed between deadlines, I skipped a thorough clean after using Createx Wicked Colors. Two days later: total clog. My client’s reveal was in 48 hours. Panic mode activated.
Optimist You: “A quick rinse is enough!”
Grumpy You: “Tell that to my $280 Iwata HP-CS after it hissed like an angry goose for a week.”
How to Use an Airbrush Cleaning Tool: Step-by-Step
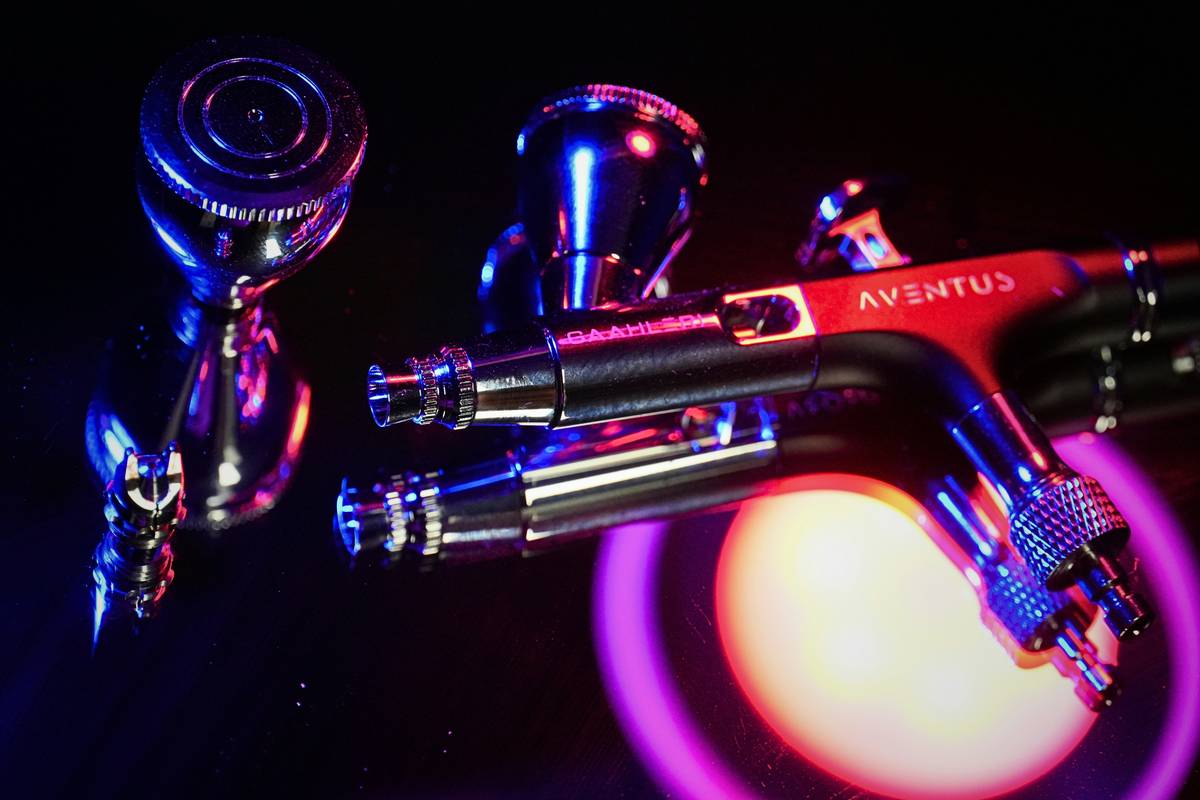
What’s in a Standard Airbrush Cleaning Kit?
A quality kit includes:
- Soft-bristle brushes (nylon or badger hair—not metal!)
- Nozzle cleaning reamer (plastic or Teflon-coated)
- Bottle with squeeze bulb for back-flushing
- Replacement O-rings (because solvents degrade them over time)
- Precision tweezers for retrieving tiny parts
- Water-based: Airbrush Cleaner (e.g., Medea Airbrush Cleaner)
- Enamel/lacquer: Lacquer thinner (use in ventilated area!)
- Urethane: Isopropyl alcohol (90%+)
- Clean immediately after use. Dried paint exponentially harder to remove. Set a timer if needed.
- Never soak rubber O-rings in strong solvents. They swell and crack. Remove them before lacquer cleaning.
- Store needle fully inserted. Prevents bending and keeps the tip protected.
- Use distilled water for final rinse. Tap minerals leave deposits inside fluid channels.
- Lubricate sparingly with airbrush-specific grease. Apply a rice-grain amount to the needle where it contacts the rear seal.
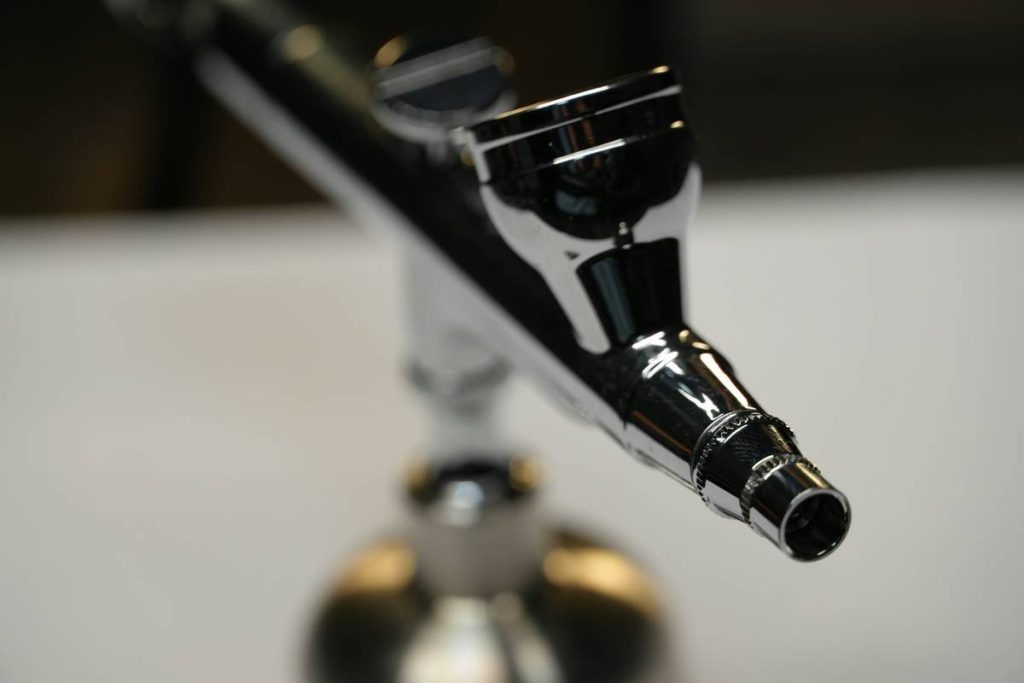
Step 1: Disassemble Safely
Remove the needle first—never force it. Hold the chucking nut with pliers (wrap jaws in tape to avoid marring) and unscrew gently. Lay parts on a lint-free cloth in order.
Step 2: Flush with Compatible Solvent
Match solvent to your paint type:
Fill the paint cup, then spray into a rag until clear. Repeat 2–3 times.
Step 3: Clean Internal Passages
Use the squeeze bottle filled with cleaner to back-flush through the fluid inlet. This pushes debris out the nozzle—not deeper in.
Step 4: Scrub Gently with Brushes
Dip nylon brushes in cleaner and swirl inside the needle cap, nozzle holder, and air cap. For the nozzle bore, use the plastic reamer—never twist aggressively. It’s a passageway, not a screwdriver hole.
Step 5: Ultrasonic Soak (Optional but Recommended)
Place disassembled metal parts in an ultrasonic cleaner with warm water + Airbrush Restorer solution for 5–10 minutes. The cavitation bubbles lift microscopic residue even brushes miss. Dry thoroughly before reassembly.
5 Best Practices That Keep Your Airbrush Running Like New
TERRIBLE TIP DISCLAIMER: “Just blow compressed air through it!” Nope. Compressed air pushes gunk deeper. Always flush with liquid first.
Case Study: How Deep Cleaning Saved My $300 Airbrush (and My Deadline)
Last summer, I took on a custom airbrush job for a retro video game arcade cabinet. Used Auto Air Aluminum Base paint—gorgeous metallic finish, but notoriously gritty. After day one, spray became erratic. I tried quick cleans. No joy.
On night two, I broke out the full kit: disassembled, soaked nozzle in Medea Restorer overnight, ultrasonic cleaned all metal parts, replaced O-rings (they’d hardened), and re-lubed the needle. Result? Smooth as silk. Delivered on time. Client posted it on Instagram—got me three new commissions.
Moral: Prevention takes 5 minutes. Rescue takes hours—and risks your gear.
RANT: Stop Using Paper Towels to Wipe Nozzles!
Seriously. Those little fibers shred and lodge in the orifice, creating new clogs. Use microfiber cloths or—better yet—let parts air-dry on a rack. If you must wipe, use lens paper. Your future self (and your airbrush) will thank you.
FAQs About Airbrush Cleaning Tools
Can I use household items like toothpicks instead of a cleaning tool?
No. Wood splinters, paper fibers, and cotton swabs shed debris. Dedicated airbrush cleaning tools are precision-engineered to fit internal geometries without scratching.
How often should I deep clean my airbrush?
After every session for critical work. At minimum, once per week if used daily. If switching paint types (e.g., acrylic to enamel), clean thoroughly between uses.
Is an ultrasonic cleaner worth it?
Yes—if you use your airbrush weekly. Models like the Magnasonic Professional ($40–$60) clean in 5 minutes what takes 20 by hand. Just ensure it has a basket to prevent part-on-part scratching.
What’s the best solvent for water-based paints?
Medea Airbrush Cleaner or Winsor & Newton Airbrush Cleaner. Avoid vinegar or dish soap—they leave residues that affect adhesion.
Conclusion
Knowing how to use an airbrush cleaning tool isn’t just maintenance—it’s mastery. A clean airbrush delivers consistent atomization, vibrant colors, and years of reliable service. Skip it, and you’re gambling with clogs, corrosion, and costly replacements.
Start small: invest in a basic cleaning kit, commit to post-session flushing, and never—ever—use metal on your nozzle. Your art (and your wallet) will shine brighter for it.
Like a Tamagotchi, your airbrush needs daily care—or it dies mid-project.
Nozzle gleams bright,
Paint flows without a fight.
Clean tool in hand—
Art breathes free tonight.