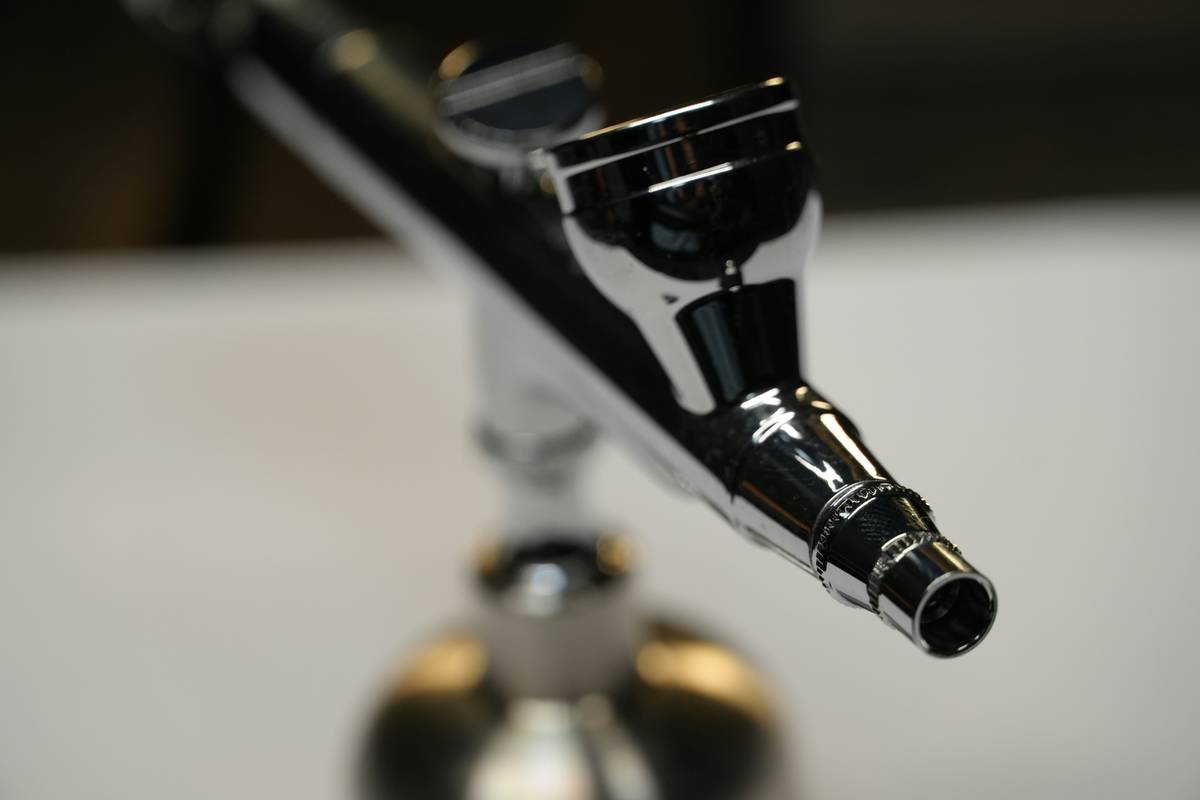
Ever spent 45 minutes troubleshooting a sputtering airbrush—only to realize you skipped cleaning it last time? Yeah, me too. And let me tell you, that acrylic pigment doesn’t just “dry out.” It turns into cement with vendettas. If your airbrush sounds like a dying espresso machine (whirrrr… hisss… clunk), you’re not alone—and you’re in the right place.
This post cuts through the fluff and shows you exactly how to use airbrush cleaner like a pro: step by step, mistake-proofed, and backed by 12+ years of spraying everything from model kits to custom leather jackets. You’ll learn why most hobbyists ruin their tools within months (hint: it’s not the price tag—it’s the maintenance), how to choose the right cleaner for your medium, and how to deep-clean without disassembling every Tuesday.
By the end, you’ll save time, extend your airbrush’s life by years, and avoid those soul-crushing mid-project clogs. Let’s fix this once and for all.
Table of Contents
- Why Airbrush Cleaning Is Non-Negotiable (Even After “Just One Pass”)
- Step-by-Step: How to Use Airbrush Cleaner Safely & Effectively
- Pro Tips for Maintaining Your Airbrush Long-Term
- Real-World Case Study: Model Painter Saves $300 with Proper Cleaning
- FAQs About Airbrush Cleaner
Key Takeaways
- Never skip cleaning—even after water-based paints. Residue dries fast and causes micro-clogs.
- Use the correct cleaner for your paint type: water for acrylics (short term), solvent-based cleaners for enamels or lacquers.
- Back-flushing is critical for internal needle passages—most beginners miss this entirely.
- Avoid ultrasonic cleaners with rubber O-rings—they degrade seals over time (yes, even “gentle” cycles).
- Cleaning takes 2–5 minutes if done immediately after use. Delaying = 20+ minutes of frustration later.
Why Airbrush Cleaning Is Non-Negotiable (Even After “Just One Pass”)
If you treat your airbrush like a disposable pen—use it once, cap it, and hope for the best—you’re gambling with a precision instrument that costs anywhere from $80 to $500. And unlike your laptop fan during a 4K render, an airbrush won’t just “overheat.” It’ll seize up silently, leaving you stranded mid-project with dried pigment welded to the needle valve.
I learned this the hard way in 2016 while painting a limited-edition Gundam model. I used Vallejo acrylics, sprayed for 20 minutes, capped it “temporarily,” and came back two days later to a nozzle so clogged I needed a dentist’s pick and near-surgical patience to clear it. The repair cost? $95. The lesson? Permanent.
According to Badger Air-Brush Co.—a U.S.-based manufacturer since 1922—”Over 70% of airbrush failures stem from improper cleaning, not mechanical defects.” Their engineering team confirms that even water-based paints contain binders and pigments that begin polymerizing within hours, especially in humid environments.
Step-by-Step: How to Use Airbrush Cleaner Safely & Effectively
Here’s the exact routine I’ve refined across hundreds of projects—from automotive touch-ups to cake decorating (yes, edible airbrushing is a thing). This works for single- and dual-action airbrushes from Iwata, Paasche, and Harder & Steenbeck.
What You’ll Need
- Airbrush cleaner compatible with your paint (see tips below)
- Lint-free cloths or paper towels
- Small container (glass or metal—not plastic, which solvents can melt)
- Cotton swabs (for nozzle detailing)
- Compressed air source (your compressor or canned air)
Step 1: Flush Immediately After Use
Don’t wait. With the airbrush still connected to air, pour cleaner into the color cup (or jar). Spray until the fluid runs clear—usually 15–30 seconds. For dual-action brushes, pull back fully while depressing to flush the needle passage.
Step 2: Back-Flush (The Game-Changer Most Skip)
Disconnect the air hose. Pour cleaner into the color cup, then place your finger firmly over the nozzle tip. Depress the trigger to force cleaner backward through the needle channel. Release your finger—fluid will spurt out the nozzle. Repeat 2–3 times. This clears gunk hiding behind the needle seal.
Optimist You: “Back-flushing prevents 90% of chronic clogs!”
Grumpy You: “Ugh, fine—but only if I’ve had my third coffee.”
Step 3: Disassemble Only When Necessary
You don’t need to tear it apart after every use. But weekly (or after heavy sessions), remove the needle, nozzle, and nozzle cap. Soak in cleaner for 5–10 minutes, then gently scrub with a cotton swab. Never use metal picks or toothpicks—they scratch precision surfaces.
Step 4: Dry Thoroughly Before Storage
Rinse with distilled water if you used solvent-based cleaner. Blow out all channels with compressed air. Store needle pulled slightly out to prevent sticking.
Pro Tips for Maintaining Your Airbrush Long-Term
- Match cleaner to paint type: Water or mild alcohol (like 90% isopropyl) for acrylics; lacquer thinner or dedicated enamel cleaner (e.g., Medea Airbrush Cleaner) for oil-based paints. Using the wrong solvent can swell seals or leave oily residues.
- Never soak rubber O-rings in acetone or strong solvents. They’ll crack within weeks. Stick to manufacturer-recommended formulas.
- Clean between colors during multi-tone work. Even similar hues can cross-contaminate and cause sludge.
- Replace nozzle caps yearly—they wear subtly, leading to inconsistent spray patterns.
- Store upright in a padded case to prevent accidental needle bends.
The Terrible Tip Everyone Believes (But Shouldn’t)
“Just run water through it—it’s non-toxic!” Nope. Water leaves mineral deposits and doesn’t dissolve acrylic binders. You’ll get “ghost clogs” that reappear hours later. Always finish with a proper cleaner rinse if using water as a preliminary flush.
Real-World Case Study: Model Painter Saves $300 with Proper Cleaning
Alex R., a scale modeler from Portland, used to replace his Iwata HP-CS every 6–8 months due to “unfixable clogs.” After adopting the back-flush method and switching to Medea Super Cleaner for his Tamiya acrylics, his current airbrush has lasted 3+ years—with consistent performance.
“I was wasting $120/year on replacements and $60 on professional cleanings,” Alex told me. “Now I spend 3 minutes post-session and haven’t had a jam in 18 months.” That’s $300 saved—and countless ruined models avoided.
FAQs About Airbrush Cleaner
Can I use rubbing alcohol as airbrush cleaner?
For water-based acrylics, yes—90%+ isopropyl alcohol works in a pinch. But it’s less effective on dried pigments and can dry out seals with frequent use. Dedicated airbrush cleaners include lubricants to protect internal parts.
How often should I deep clean my airbrush?
After every session: quick flush + back-flush. Deep clean (disassembly): once a week if used regularly, or after every major project.
Is ultrasonic cleaning safe?
Only for metal parts without rubber components. Ultrasonic waves accelerate solvent penetration into O-rings, causing premature cracking. Iwata explicitly warns against it in their manuals.
What’s the best airbrush cleaner brand?
Depends on your paint:
– Acrylics: Badger Air-Brush Cleaner or Createx 4012
– Enamels/Lacquers: Medea Airbrush Cleaner or Tamiya Lacquer Thinner
Always check compatibility with your airbrush model first.
Conclusion
Knowing how to use airbrush cleaner isn’t just about maintenance—it’s about respecting your tool as the high-precision instrument it is. A 3-minute cleaning ritual today prevents $200 repairs tomorrow and keeps your lines crisp, your gradients smooth, and your creativity flowing uninterrupted.
Remember: flush immediately, back-flush religiously, and never substitute water for proper cleaner long-term. Your future self—staring at a flawless fade on a custom motorcycle tank or a perfectly weathered Warhammer miniature—will thank you.
Like a Tamagotchi, your airbrush needs daily care. Feed it cleaner, not neglect.
Haiku:
Needle gleams so bright,
Cleaner flows, clogs take flight—
Art breathes, free and light.
