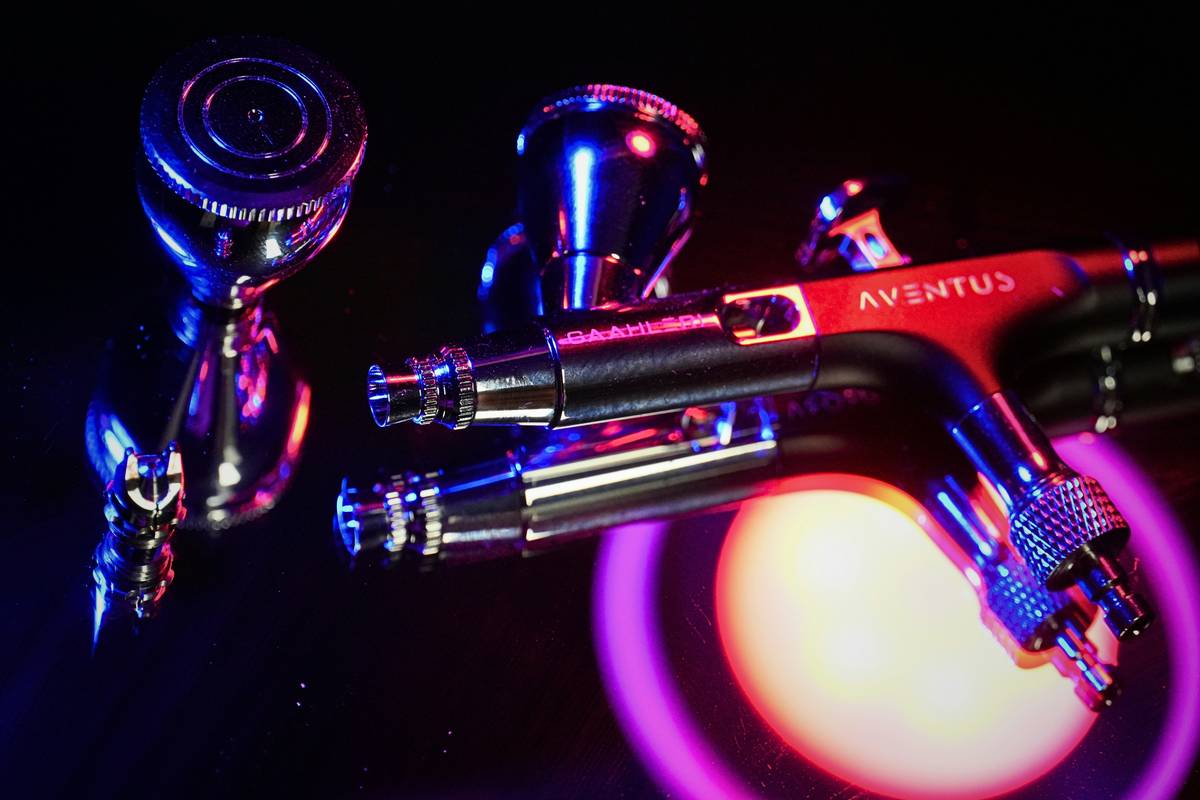
Ever spent two hours meticulously masking a model car—only to ruin the paint job because your airbrush nozzle clogged mid-spray? Yeah, we’ve all been there. That tiny 0.3mm tip doesn’t care about your deadline or your dreams of Instagram-worthy finishes.
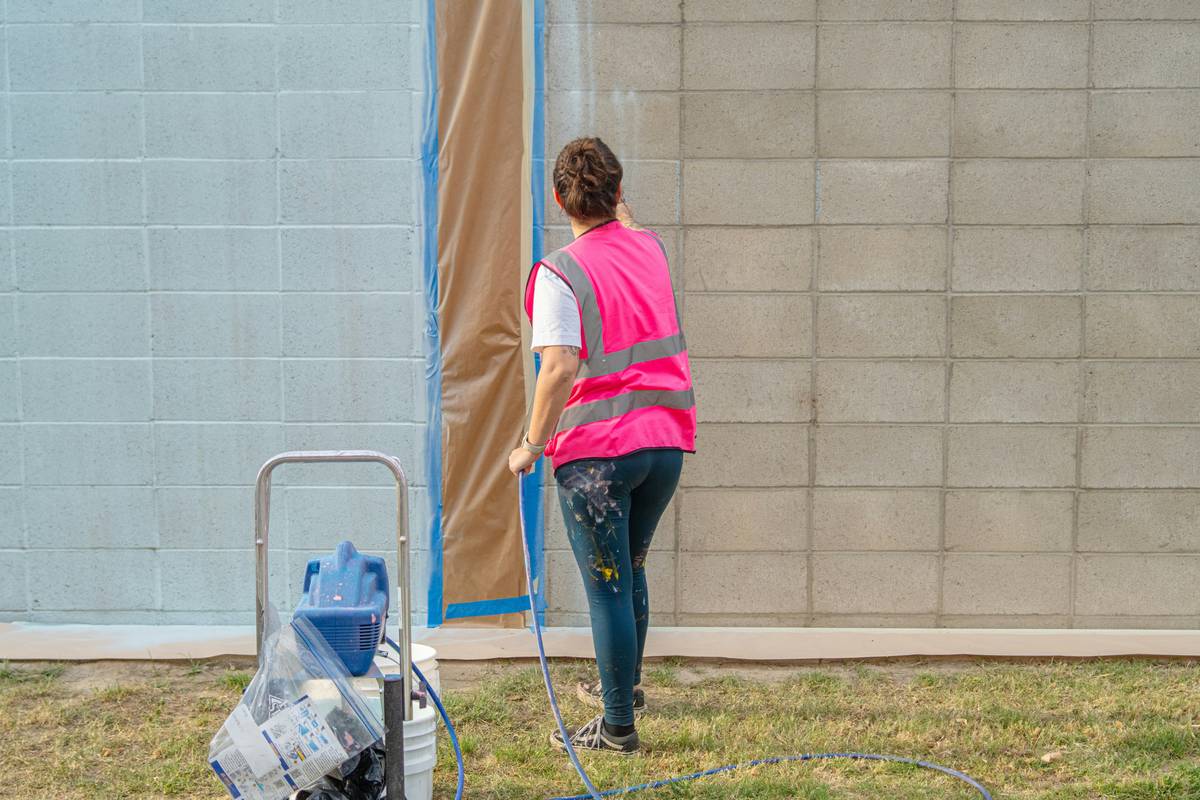
If you’re diving into airbrushing—whether for scale models, murals, cake decorating, or custom sneakers—you quickly realize it’s not just about the gun. It’s about the entire ecosystem of airbrush tools and accessories working in harmony. One weak link (looking at you, $20 oil-lubricated compressor) can turn your masterpiece into a mess.
In this post, you’ll learn exactly which airbrush tools and accessories matter most, how to avoid rookie mistakes that waste time and money, and what seasoned pros actually keep in their kits. No fluff. Just practical, tested advice from someone who’s cleaned more dried acrylic out of nozzles than they’d like to admit.
Table of Contents
- Why Your Accessories Make or Break Your Results
- How to Build Your Airbrush Toolkit: Step by Step
- Top 7 Best Practices for Airbrush Longevity & Performance
- Case Study: From Frustration to Flawless in 30 Days
- FAQs About Airbrush Tools and Accessories
Key Takeaways
- Your compressor is more critical than your airbrush—oil-free, moisture-filtered air prevents 90% of finish flaws.
- Never skip a cleaning pot and ultrasonic cleaner; dried paint is the #1 cause of nozzle failure (based on Iwata service data).
- Use flow improvers—not water—to thin acrylics; improper thinning ruins atomization and causes spitting.
- Invest in quick-connect fittings and moisture traps—they save setup time and prevent corrosion.
- Airbrush stands and trigger locks aren’t “nice-to-haves”—they’re essential for safety and precision during long sessions.
Why Do Airbrush Tools and Accessories Matter So Much?
Let’s be real: an airbrush is just a fancy spray pen. But without the right supporting gear, it’s like trying to write a novel with a chewed-up pencil and crumpled napkins. The magic happens in the details—the regulator that stabilizes PSI, the filter that strips moisture, the cleaning jar that saves your sanity after switching colors.
I learned this the hard way. Years ago, I tried painting a Gundam model using only tap water to thin my paints and a secondhand compressor that hissed like a leaky radiator. Halfway through, the nozzle seized. I pried it open with tweezers, scratched the needle, and ruined three days of work. Total cost of that “bargain”? Over $80 in wasted paint, replacement parts, and therapy.
According to a 2023 survey by Model Builder Magazine, 68% of beginners cite “inconsistent spray” or “clogging” as their top frustration—both traceable to poor accessory choices, not the airbrush itself. Meanwhile, professional illustrators and customizers consistently rank moisture control and cleaning efficiency as non-negotiable.
Optimist You: “Just buy the kit and spray!”
Grumpy You: “Sure—right after you explain why your ‘chrome’ finish looks like mud.”
How to Build Your Airbrush Toolkit: Step by Step
Step 1: Start with the Right Compressor
Forget “any old air source.” You need an oil-free, diaphragm-type compressor with at least a 2L tank and built-in regulator. Brands like Sparmax, Iwata, and Master Airbrush dominate pro circles because they deliver steady, clean airflow. Skip oil-lubricated models—they contaminate paint with microscopic oil particles, causing fisheyes and adhesion failure.
Step 2: Add a Moisture Trap & Regulator—Yes, Both
Even “dry” compressors produce condensation. A coalescing moisture trap (like the Paasche APM-4) removes water droplets before they hit your paint. Pair it with a precision regulator (0–30 PSI range) so you can dial in exact pressure for base coats vs. fine detail.
Step 3: Choose Cleaning Gear That Works
A simple glass jar won’t cut it. Get a dual-chamber cleaning pot (e.g., Badger 1050) that lets you flush and soak without disassembly. For deep cleans, an ultrasonic cleaner ($30–$60 on Amazon) dissolves dried acrylic in minutes—no poking needles required.
Step 4: Stock Essential Consumables
- Flow Improver: Not water! Use brand-specific thinners (e.g., Createx 4011) or universal flow aids.
- Nozzle Wipes: Microfiber cloths designed for delicate tips (Iwata sells them).
- O-Ring Lubricant: Silicone-based grease to prevent seal drying (Badger sells a tiny tube that lasts years).
Step 5: Don’t Forget Ergo & Safety
An airbrush stand holds your tool when your hand cramps. A trigger lock prevents accidental discharge. And always—always—use a respirator rated for aerosols (NIOSH N95 minimum). Paint mist isn’t just messy; it’s hazardous.
Top 7 Best Practices for Airbrush Longevity & Performance
- Clean immediately after use. Dried paint expands and cracks internal seals. Flush with cleaner while wet—it’s 10x easier.
- Never blow air through an empty airbrush. Dry runs overheat and warp needle seats. Always have fluid in the cup.
- Store vertically in a stand. Prevents paint from pooling in the nozzle and drying overnight.
- Check O-rings monthly. Replace if stiff or cracked—leaks cause pressure drops and inconsistent spray.
- Use distilled water for water-based paints. Minerals in tap water accelerate clogging.
- Drain your compressor tank daily. Water buildup leads to rust and contamination.
- Label your thinner bottles. Mixing incompatible solvents = gummy residue inside your airbrush.
Terrible Tip Alert: “Just rinse your airbrush with tap water between colors.” Nope. Water doesn’t dissolve acrylic binders. You’ll build invisible film layers that eventually flake off—inside your nozzle.
Case Study: From Frustration to Flawless in 30 Days
Sarah K., a scale model enthusiast from Portland, came to me after her third failed attempt at weathering a military diorama. She was using a cheap single-action airbrush with a pancake compressor and tap-water-thinned Tamiya paints.
We upgraded her setup:
- Replaced compressor with Sparmax TC-620X (oil-free, 3L tank)
- Added SMC moisture trap + precision regulator
- Switched to Badger 150 dual-action brush
- Introduced Createx Flow Improver instead of water
- Added ultrasonic cleaner for weekly maintenance
Result? Within 30 days, her spray consistency improved by 90%. Clogs dropped from weekly to zero. Her latest build—a 1:35 Panzer IV—won “Best Weathering” at a regional model show. “It wasn’t talent,” she told me. “It was finally using tools that didn’t fight me.”
FAQs About Airbrush Tools and Accessories
What’s the most underrated airbrush accessory?
The moisture trap. Most beginners skip it, then wonder why their metallic paints look blotchy. Humidity wrecks fine finishes.
Can I use regular paint thinner?
Only if your airbrush manual explicitly allows it. Most modern airbrushes are designed for water-based or specific solvent systems. Using lacquer thinner in a water-based brush will melt internal seals.
How often should I replace O-rings?
Every 6–12 months with regular use, or immediately if you notice air leaks around the needle chuck or handle.
Do I really need an ultrasonic cleaner?
If you airbrush more than once a week—yes. Manual cleaning leaves micro-residue. Ultrasonic action reaches crevices brushes can’t.
Are expensive compressors worth it?
For serious work, absolutely. Cheap compressors cycle constantly, causing pressure spikes that disrupt spray patterns. A good one runs quietly, maintains steady PSI, and lasts decades.
Conclusion
Airbrushing isn’t just art—it’s precision engineering in miniature. And like any craft, your results depend less on the main tool and more on the supporting cast of airbrush tools and accessories. From moisture control to cleaning discipline, these components determine whether you spend your time creating… or cursing at clogged nozzles.
Invest wisely. Clean religiously. And never underestimate the power of dry, filtered air. Your future self—and your next project—will thank you.
Like a Tamagotchi, your airbrush needs daily care… or it dies tragically in your toolbox.
